1
2
3
4
5
6
7
8
9
10
11
12
13
14
15
16
17
18
19
20
21
22
23
24
25
26
27
28
29
30
31
32
33
34
35
36
37
38
39
40
41
42
43
44
45
46
47
48
49
50
51
52
53
54
55
56
57
58
59
60
61
62
63
64
65
66
67
68
69
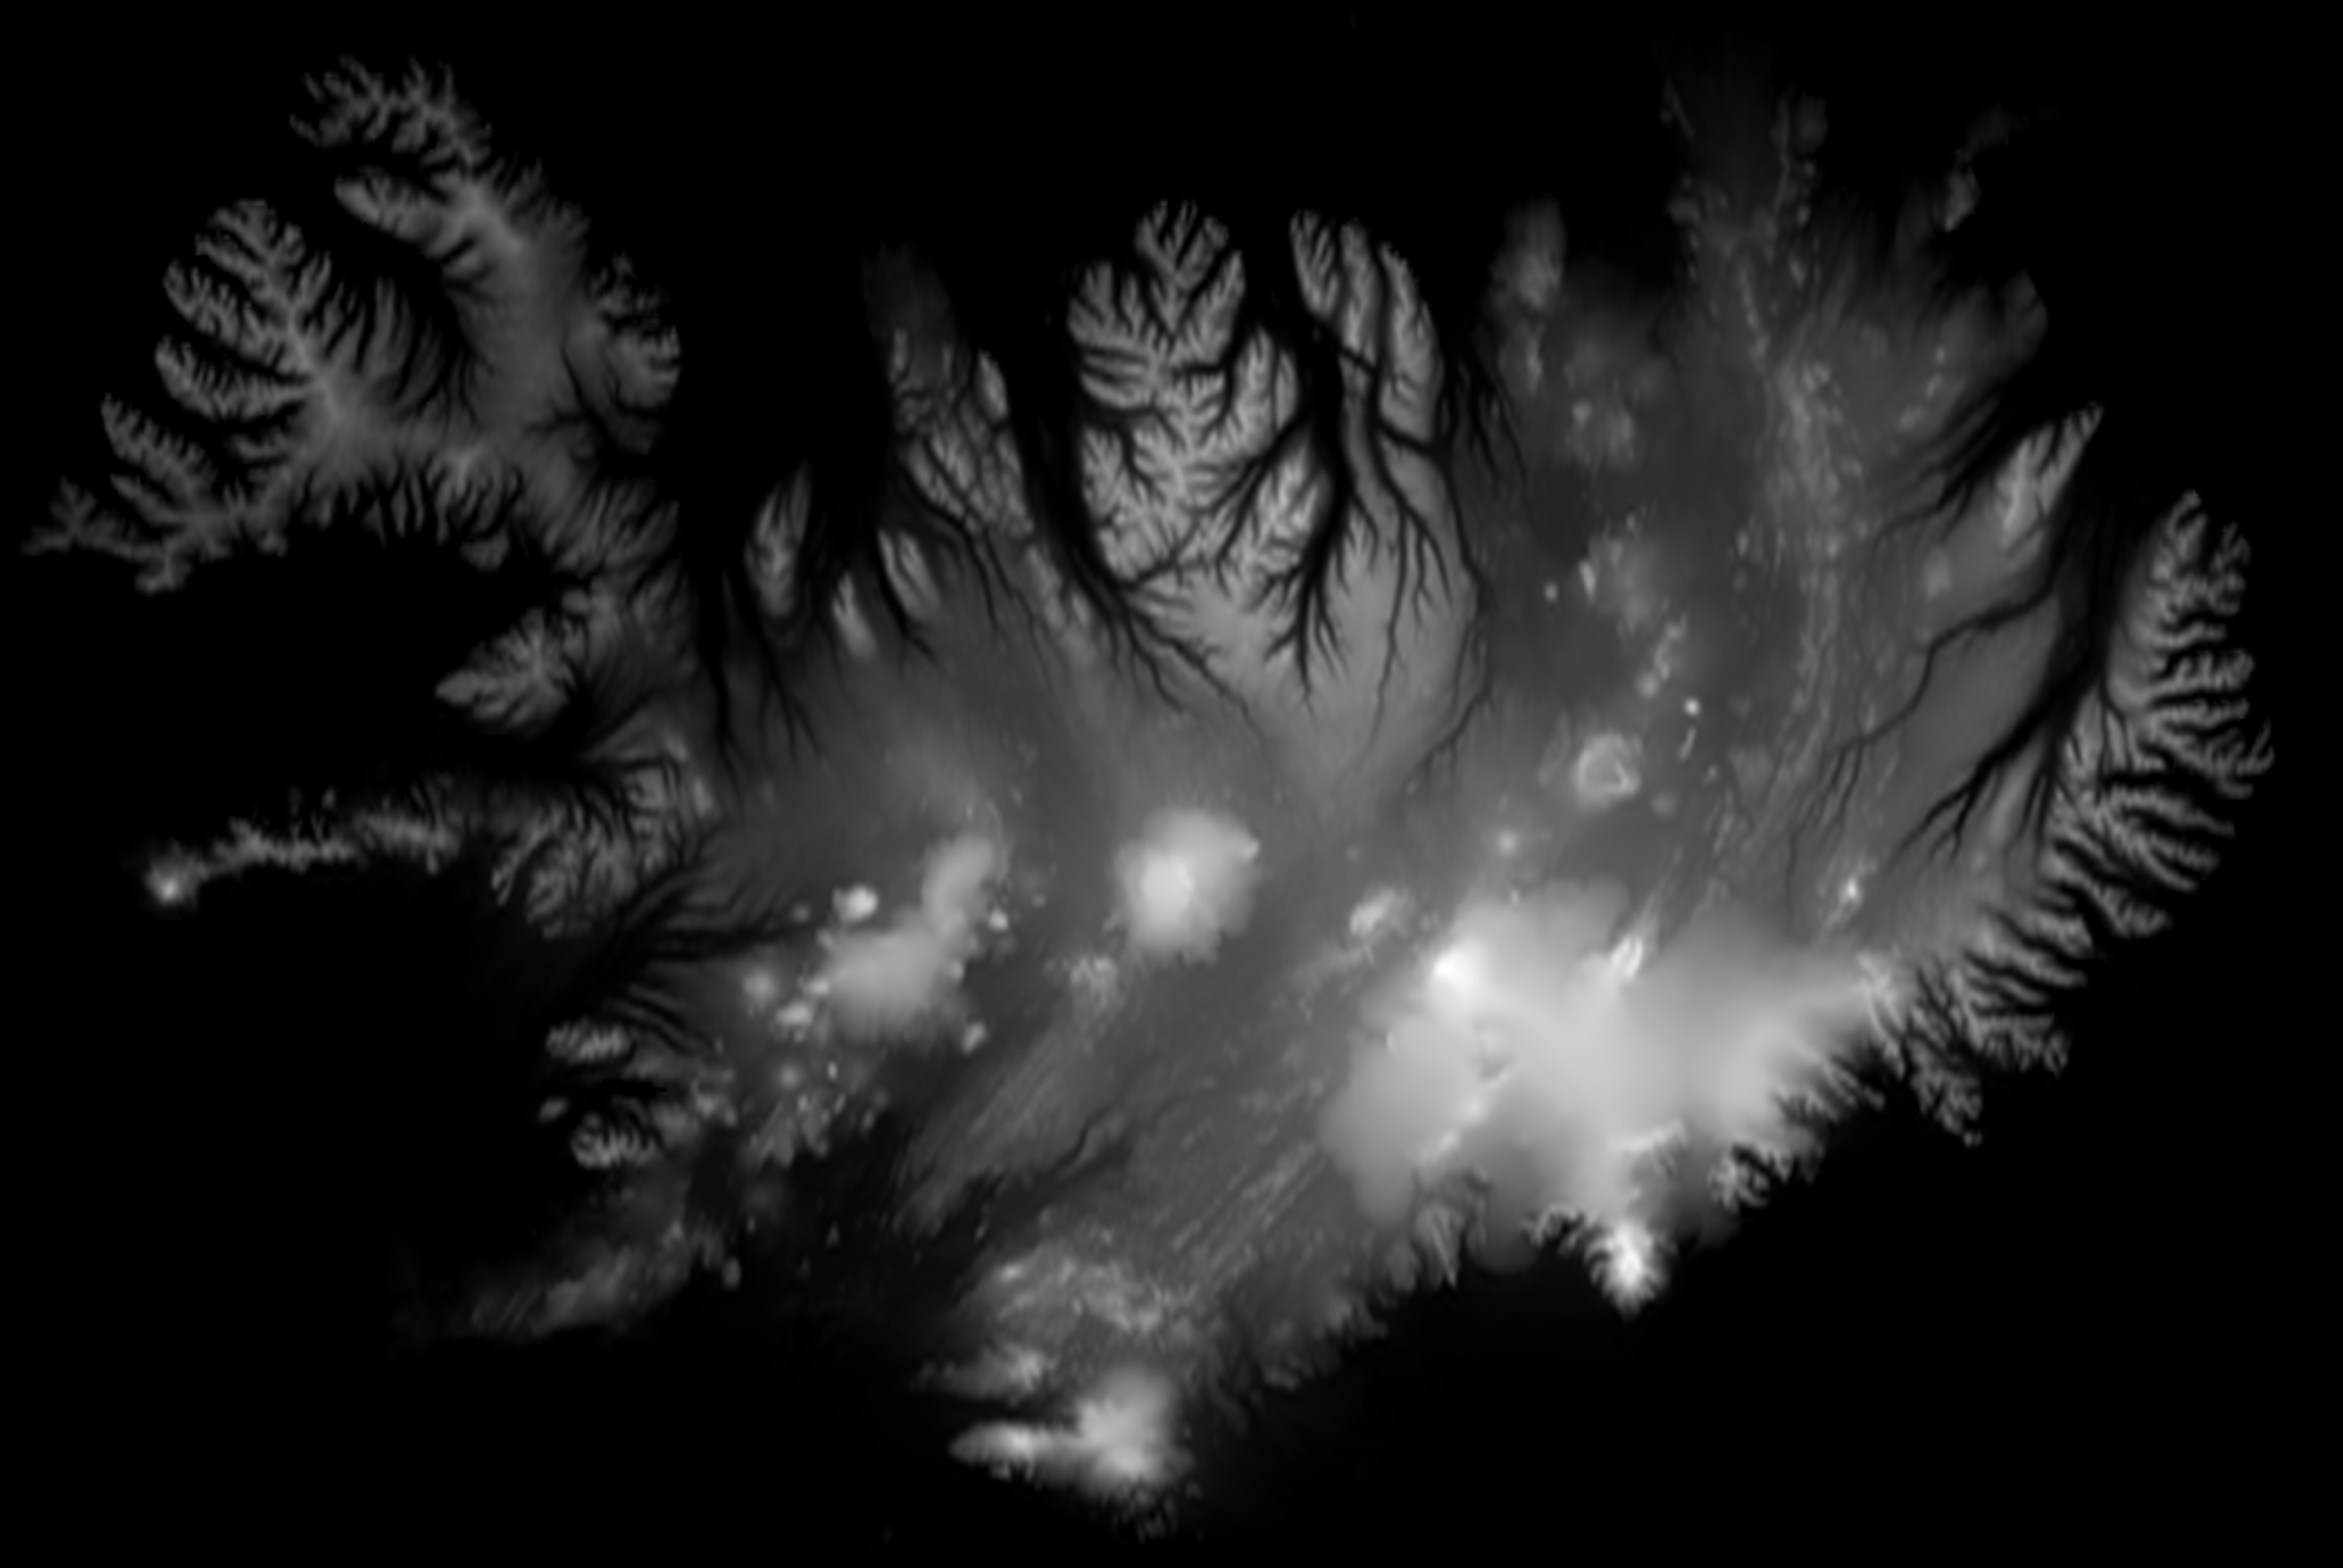
| void loadHeightMap() {
unsigned char *data = stbi_load("textures/Height-Map.png",
&width, &height, &nChannels,
0);
int dwidth, dheight, dn;
unsigned char *diffuse = stbi_load("textures/Diffuse-Map.png",
&dwidth, &dheight, &dn,
0);
if (!data || !diffuse) {
std::cout << "Error: Load HeightMap or DiffuseMap Failed! \n";
exit(0);
}
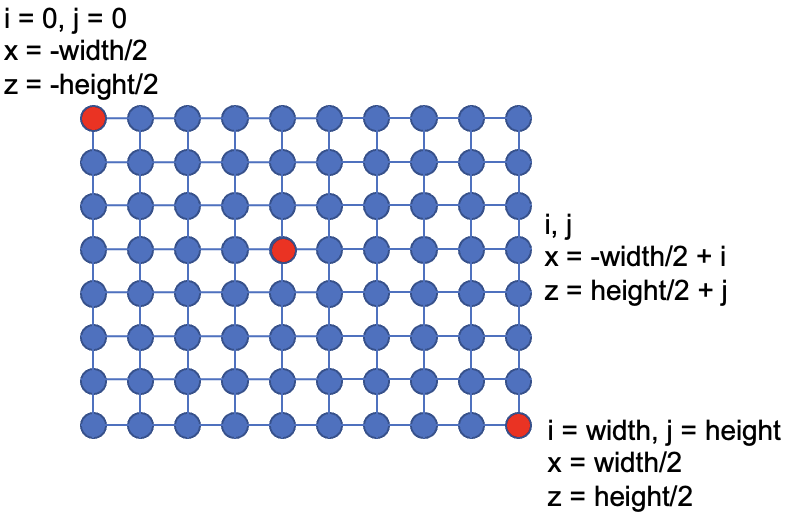
float yScale = 64.0f / 256.0f, yShift = 16.0f;
for (unsigned int i = 0; i < height; i++) {
for (unsigned int j = 0; j < width; j++) {
unsigned char *texel = data + (i * width + j) * nChannels;
unsigned char *color = diffuse + (i * width + j) * dn;
unsigned char y = texel[0];
terrainVertices.push_back(-height / 2.0f + i);
terrainVertices.push_back((int) y * yScale - yShift);
terrainVertices.push_back(-width / 2.0f + j);
terrainTexture.push_back((float)color[0]/255.0f);
terrainTexture.push_back((float)color[1]/255.0f);
terrainTexture.push_back((float)color[2]/255.0f);
}
}
stbi_image_free(data);
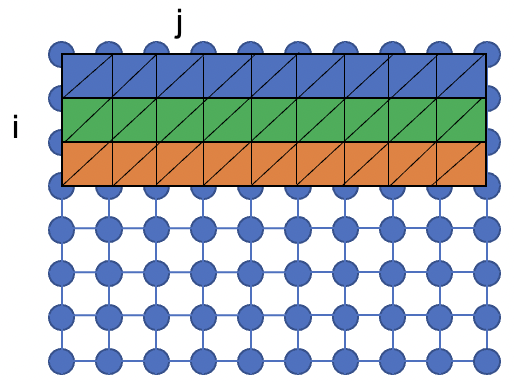
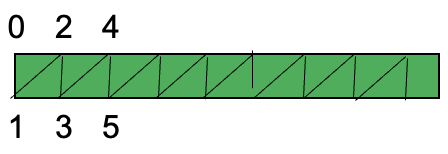
for (unsigned int i = 0; i < height - 1; i++)
for (unsigned int j = 0; j < width; j++)
for (unsigned int k = 0; k < 2; k++)
terrainIndices.push_back((i + k) * width + j);
}
void initTerrain() {
glGenVertexArrays(1, &terrainVAO);
glBindVertexArray(terrainVAO);
glGenBuffers(1, &terrainVerticesVBO);
glBindBuffer(GL_ARRAY_BUFFER, terrainVerticesVBO);
glBufferData(GL_ARRAY_BUFFER,
terrainVertices.size() * sizeof(float),
&terrainVertices[0],
GL_STATIC_DRAW);
glVertexAttribPointer(0, 3, GL_FLOAT, GL_FALSE, 3 * sizeof(float), (void *) (nullptr));
glEnableVertexAttribArray(0);
glGenBuffers(1, &terrainTextureVBO);
glBindBuffer(GL_ARRAY_BUFFER, terrainTextureVBO);
glBufferData(GL_ARRAY_BUFFER,
terrainTexture.size() * sizeof(float),
&terrainTexture[0],
GL_STATIC_DRAW);
GLuint terrainTextureLocation = glGetAttribLocation(terrainShader->id, "color");
glEnableVertexAttribArray(terrainTextureLocation);
glVertexAttribPointer(terrainTextureLocation, 3, GL_FLOAT, GL_FALSE, 3 * sizeof(float), (void*) (nullptr));
glGenBuffers(1, &terrainEBO);
glBindBuffer(GL_ELEMENT_ARRAY_BUFFER, terrainEBO);
glBufferData(GL_ELEMENT_ARRAY_BUFFER,
terrainIndices.size() * sizeof(unsigned int),
&terrainIndices[0],
GL_STATIC_DRAW);
}
|